Microsoft Word has the ability to generate QR codes and add them to your document using the mail merge functionality.
All you need to do is set the data that you wish to use in your QR code, and then tell Word to insert the data as a QR code.
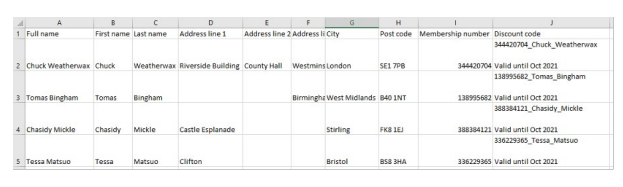
In this worked example, we have a sports studio that wishes to mail a discount code to their members for use in the café. The first thing that we want to ensure is that we have a data file that contains the mail merge information. We have created a basic Excel file for this, that contains the member’s personal details, their membership number and the information that will be contained within the QR code.
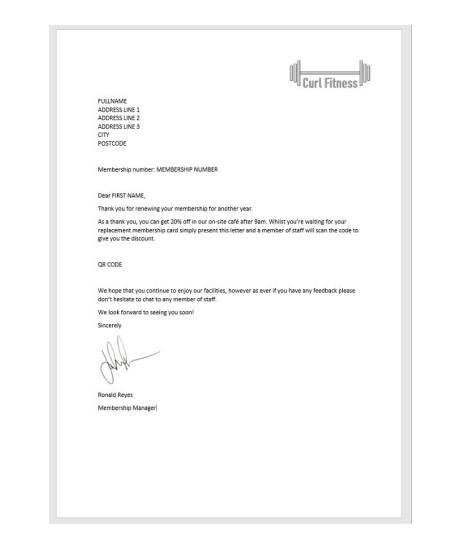
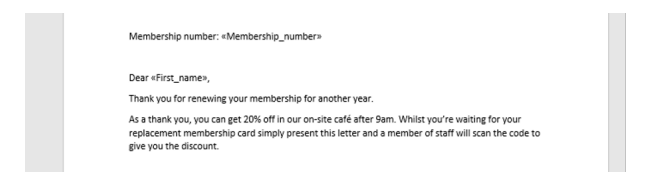
We can now write our letter. Here we have prepared the letter and noted where we want to place mail merge tags.
We can do most of the mail merge in the usual way.
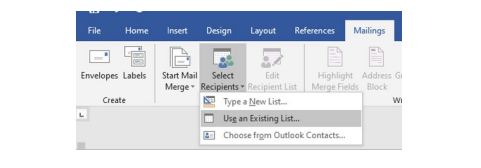
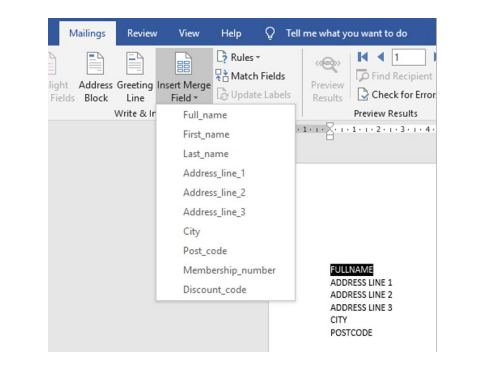
In Word, select Mailings > Select Recipients > Use an Existing List, and then select our Excel file.
We can then begin to place the merge tags into our document, but we won’t add the QR code just yet.
When we want to insert the QR code, we need to do something a little different. Firstly, select where we are going to place the QR code and delete the holding text.
Now on your keyboard press the Ctrl and F9 keys at the same time. You’ll see a set of braces inserted into the document.

Within the braces, enter the text:
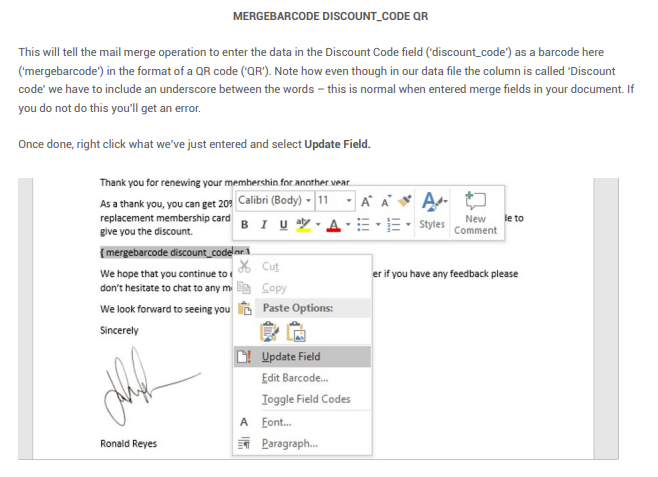
MERGEBARCODE DISCOUNT_CODE QR
This will tell the mail merge operation to enter the data in the Discount Code field (‘discount_code’) as a barcode here (‘mergebarcode’) in the format of a QR code (‘QR’).
Note how even though in our data file the column is called ‘Discount code’ we have to include an underscore between the words – this is normal when entering merge fields in your document.
If you do not do this you’ll get an error.
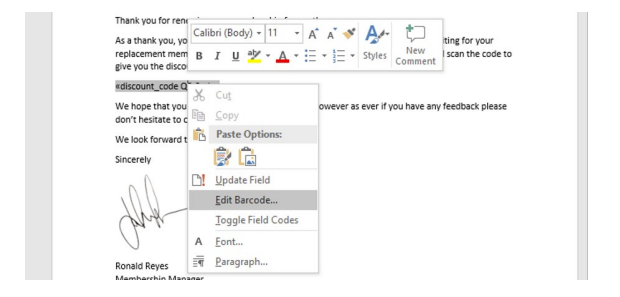
Once done, right click what you've just entered and select Update Field.
Word will now complete the setup merge tags for us.

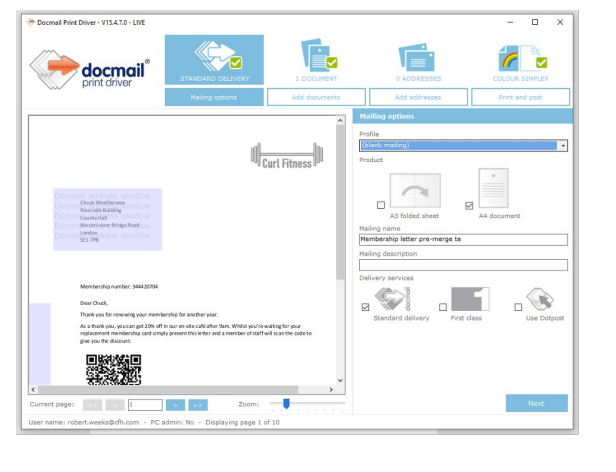
We are now ready to perform our mail merge.

In this case, we’ve printed straight to the Docmail Print Driver to complete our mailing.
Advanced options
You can easily change the barcode type and how it looks on the page by right clicking on the barcode merge tag and selecting Edit Barcode.
This allows you to change the field being used and barcode type (n.b. when selecting edit barcode ensure that your chosen field stays selected - Word has a habit of changing it to the first field in your data set).
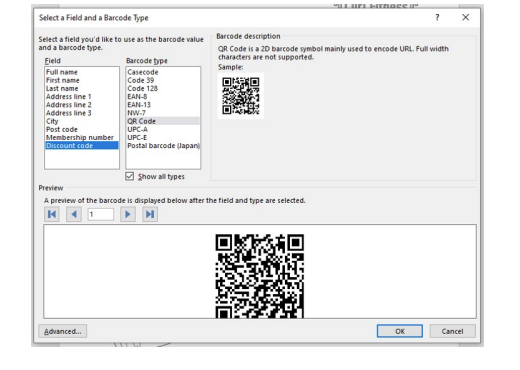
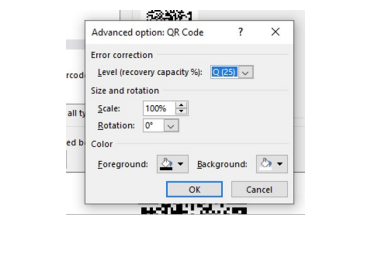
To amend how the barcode looks select Advanced. From here you can change the size (scale), rotation and colours.